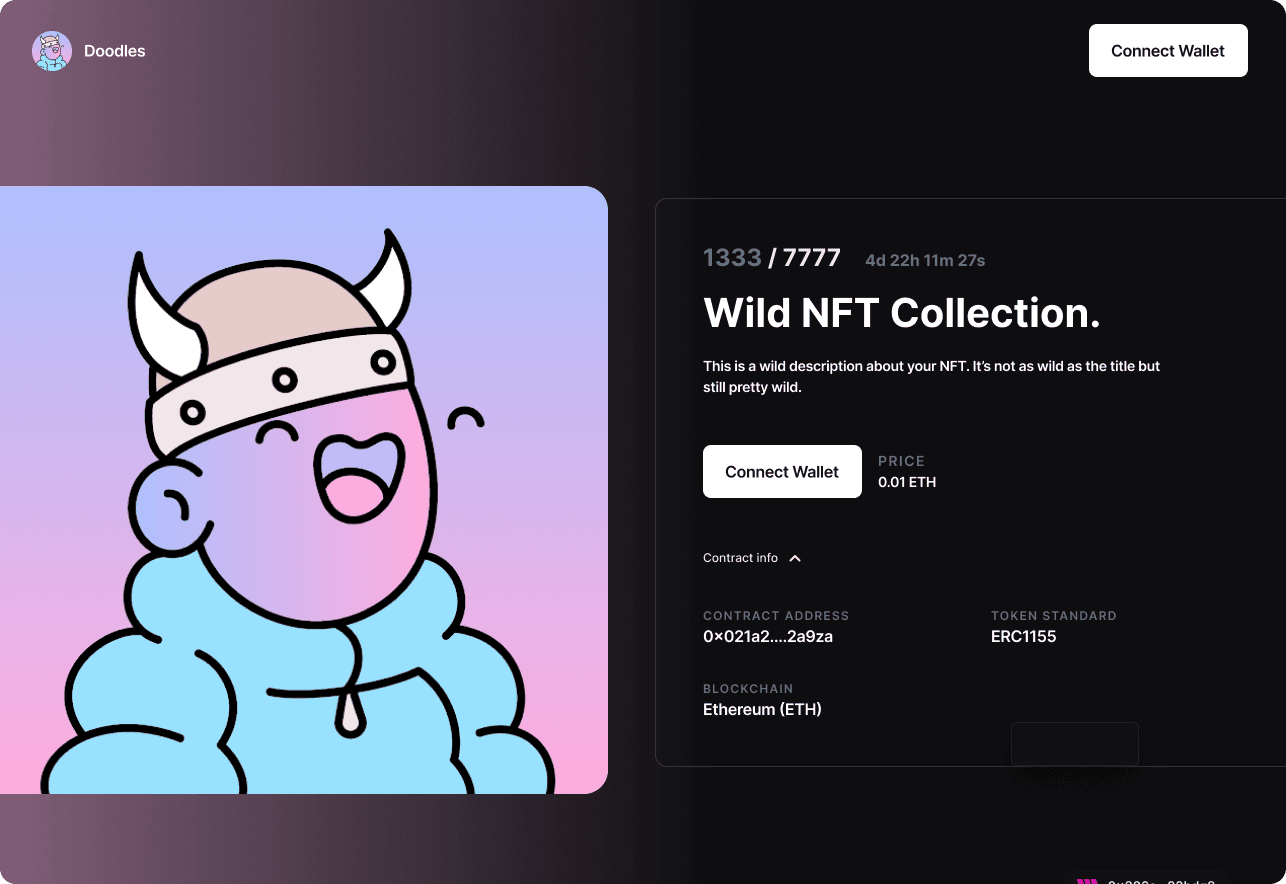
NFT Claim Page
Allow users to claim tokens under the criteria of claim conditions to receive ERC721 NFT(s).
by

thirdweb
Category
Consumer Apps
Frameworks
Typescript
Getting Started
In this example, you can create your own ERC721 Drop claim page just by customizing the template with your branding and plugging in your NFT Drop contract address.
This template works with the NFT Drop / Signature Drop contract from thirdweb or when using any of the Drop contract bases or if you implement these extensions:
Using This Repo
To create your own version of this template, you can use the following steps:
Run this command from the terminal to clone this project:
1. Deploy An NFT Drop on thirdweb
If you haven't already deployed your contract, head over to the thirdweb dashboard and create your own NFT Drop contract.
You can learn how to do that with our guide Release an NFT drop on your own site without writing any code.
Be sure to configure a name, description, and image for your NFT drop in the dashboard.
2. Configure Parameters
Go to the parameters.ts and update the following values:
1. contractConst: The smart contract address of your NFT drop.
2. chainConst: The name of the chain that your smart contract is deployed to.
If you are using one of thirdweb's default supported chains You can use the chain name as string.
Example
If you are using any other chain, you need to provide the chain object from the @thirdweb-dev/chains package to ThirdwebProvider's activeChain prop as mentioned here.
Example
If your chain is not included in the @thirdweb-dev/chains package, you can provide the chain information yourself by creating an object as mentioned here.
3. Customize the Styling
You can change the theme and primary color of the page by updating primaryColorConst and themeConst in parameters.ts.
If you want to go further, you can also update the styles in the respective components by changing the Tailwind classes.
4. Optional: Add Gasless Transaction Support
If you want to sponsor the gas fees for your user, you can update the relayerUrlConst in parameters.ts to point to your Open Zeppelin relayer or biconomyApiKeyConst and biconomyApiIdConst to use Biconomy.
Deploying Your Site
Deploying to IPFS
To deploy your site to IPFS, run the following command:
This will deploy your site and output the IPFS hash of your site. You can then grab the IPFS hash and replace it with the one you get on the Embed tab on your contract on dashboard, so you get the updated version on your website once you copy it over.
